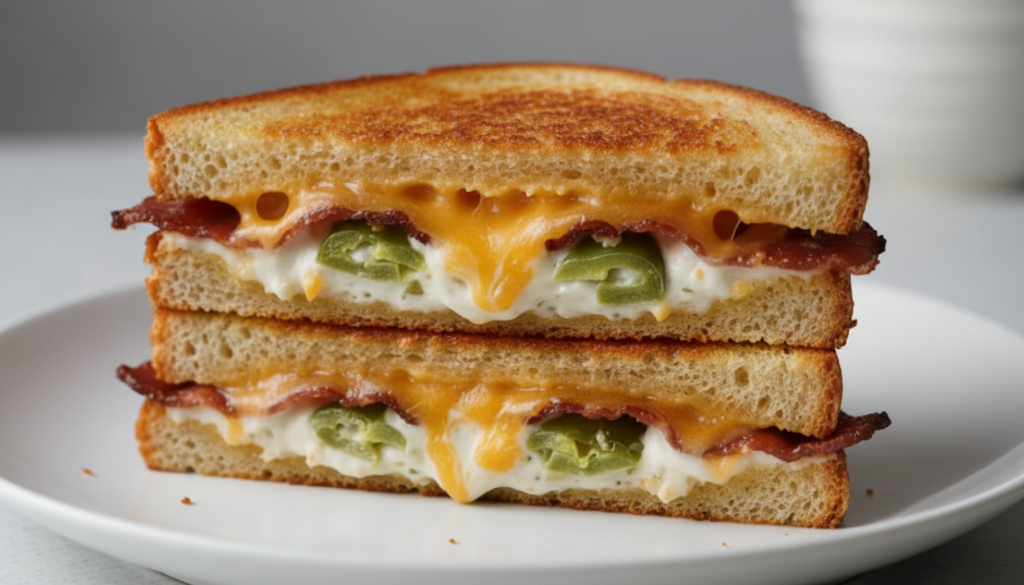
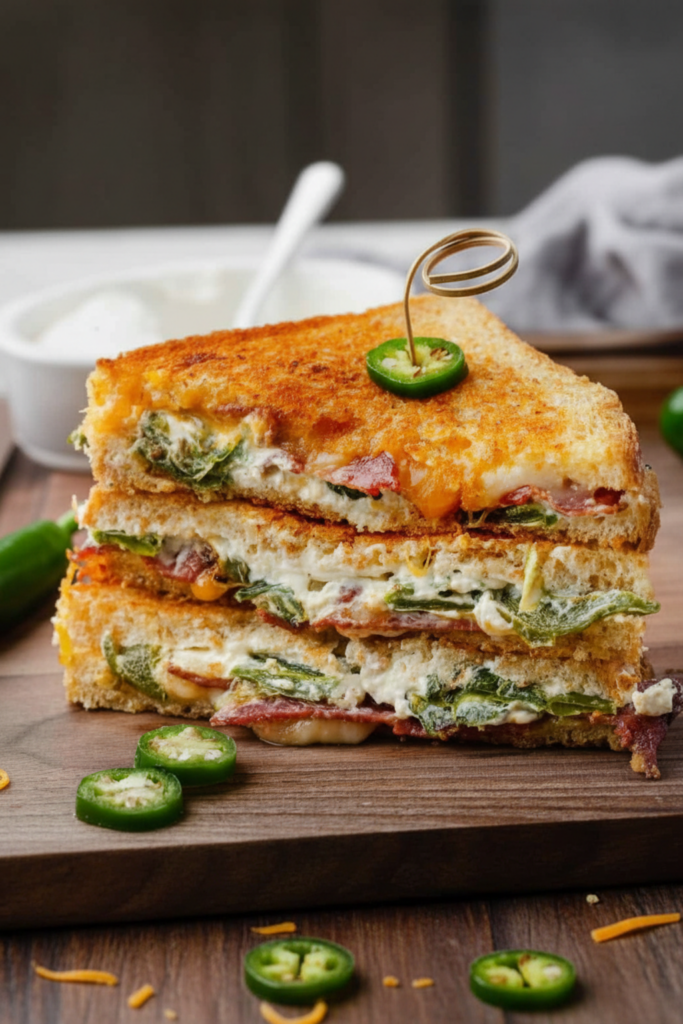
The humble grilled cheese sandwich undergoes a sophisticated transformation when infused with the smoky, piquant elements of a classic appetizer. This gourmet iteration, known as the Roasted Jalapeño Popper Grilled Cheese, is a masterclass in balancing textures and contrasting flavors. By combining the blistered, earthy notes of fire-roasted peppers with a luscious, multi-cheese foundation and the salty crunch of beef bacon, we create a sandwich that is far more than a simple lunch. It is a decadent, technique-driven meal that satisfies the most discerning palate.
Table of Contents
Table of Contents
To achieve a truly restaurant-quality result, one must move beyond basic assembly. The secret lies in the preparation of the components: the tempering of the cheeses, the precise roasting of the vegetables, and the application of a fat-based crust that ensures a mahogany-colored, shatteringly crisp exterior. If you are a fan of bold, cheesy profiles, you might also find yourself craving The Best Creamy Queso Chicken Enchiladas Recipe for your next dinner party.
As an Amazon Associate, we may earn from qualifying purchases.
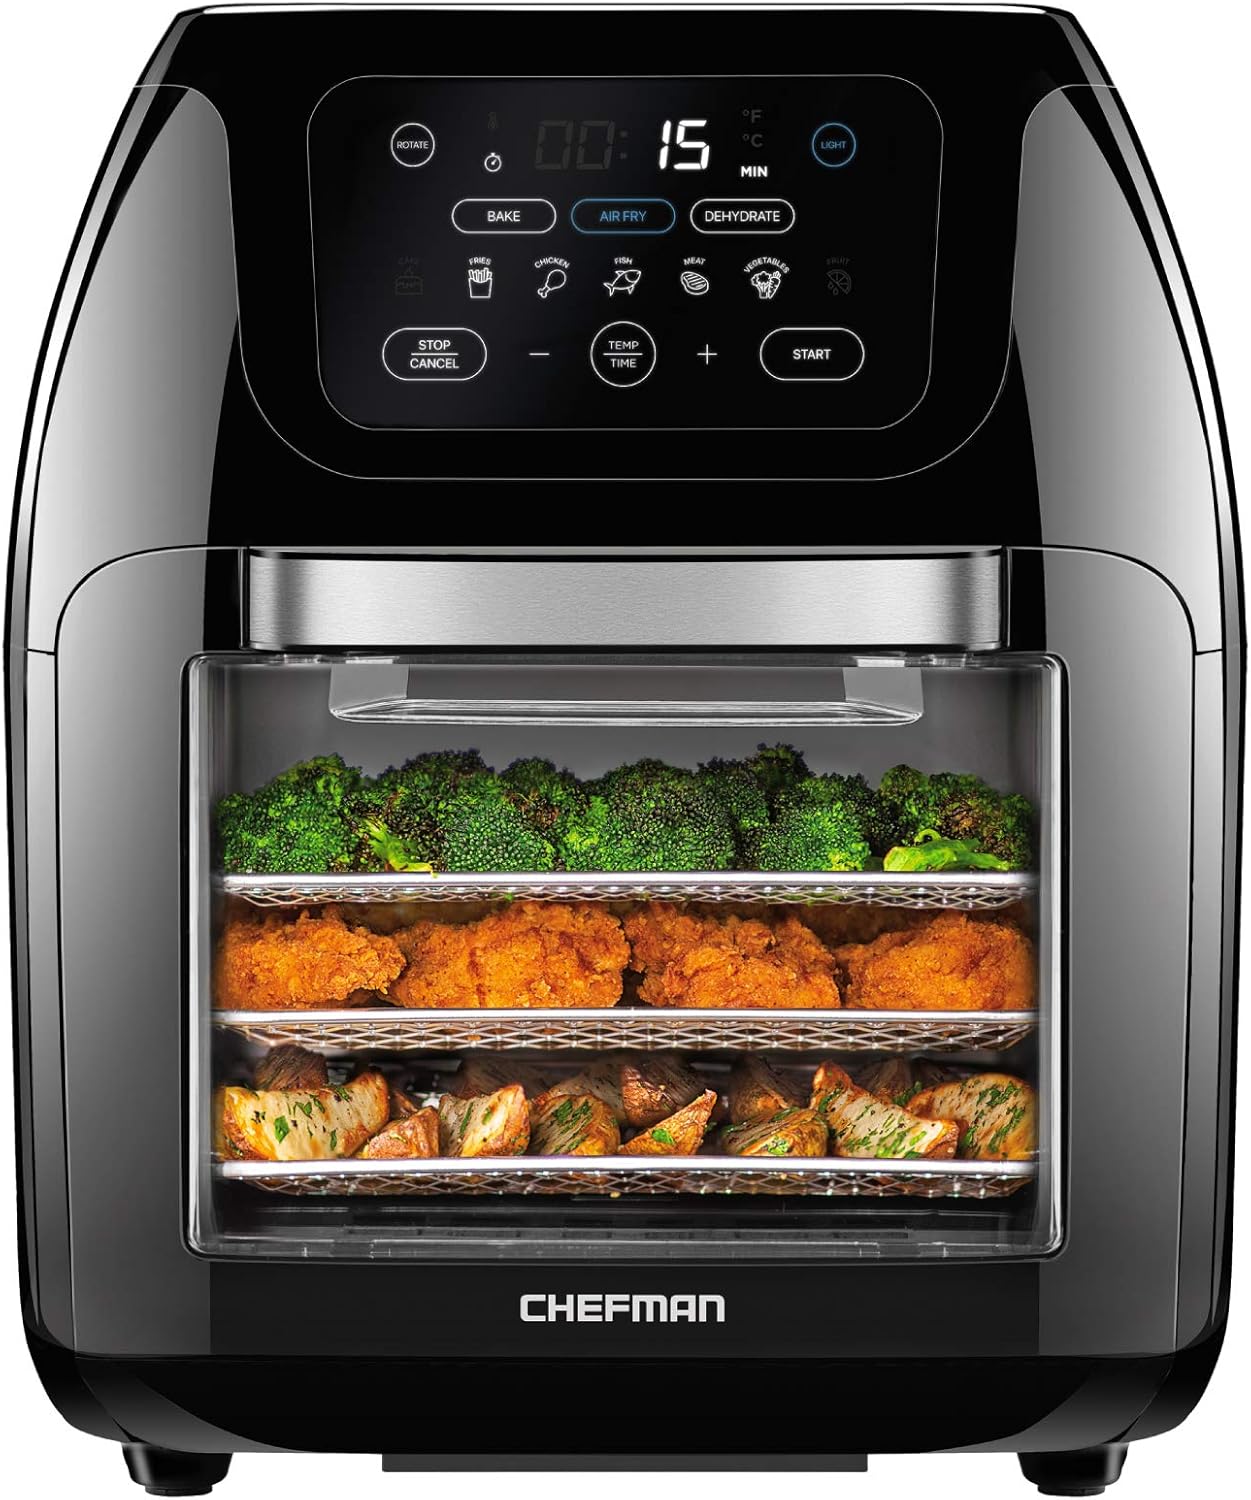
Amazon.com
Check price on AmazonWhy Roasting the Jalapeños is the Secret Ingredient
While raw peppers offer a sharp, bright crunch, roasting them unlocks a complex sweetness and a subtle smokiness that defines a superior Roasted Jalapeño Popper Grilled Cheese. The intense heat of a broiler or a gas flame blisters the skin, softening the flesh and mellowing the aggressive capsaicin heat. This process transforms the pepper from a simple garnish into a velvety, flavorful filling that integrates seamlessly with the melted cheese.
Furthermore, roasting helps manage the moisture content. Raw peppers release water as they cook inside the sandwich, which often leads to a soggy interior. By charring them beforehand and properly peeling the skins, you ensure that the only “ooze” in your sandwich comes from the high-quality cheese blend.
Essential Components for This Gourmet Creation
A sandwich is only as good as its weakest link. For this recipe, we focus on high-moisture cheeses for melting and a sturdy bread that can handle a generous amount of filling without collapsing.
- 4 thick-cut slices of artisanal sourdough bread
- 4 large jalapeño peppers, halved and deseeded
- 4 ounces high-fat cream cheese, softened to room temperature
- 1 cup sharp cheddar cheese, freshly shredded
- 1/2 cup Monterey Jack cheese, freshly shredded
- 4 strips of beef bacon, cooked until extra crispy and crumbled
- 3 tablespoons high-quality mayonnaise
- 1/2 teaspoon garlic powder
- 1 teaspoon fresh lime juice
- 1/2 teaspoon smoked paprika
The Best Bread for Heavy Fillings
When building a sandwich with a dense, creamy interior, structural integrity is paramount. While white bread is nostalgic, it lacks the density required to support roasted peppers and a triple-cheese blend. Sourdough is the ideal choice due to its tight crumb and natural acidity, which cuts through the richness of the fats. Alternatively, a thick-cut brioche can work if you prefer a sweeter, more buttery finish, though it requires a more watchful eye to prevent burning.
Choosing the Right Cheese Blend
Texture and flavor must work in harmony. We utilize a three-part cheese strategy:
- Cream Cheese: Provides the “popper” essence and acts as a stabilizing base for the other ingredients.
- Sharp Cheddar: Offers a bold, tangy flavor profile that stands up to the heat of the peppers.
- Monterey Jack: Delivers superior meltability and provides the iconic cheese-pull that every enthusiast seeks.
Step-by-Step Instructions
Follow these precise steps to ensure a perfectly balanced, golden-brown masterpiece.
Step 1: Place the jalapeño halves skin-side up on a foil-lined baking sheet and broil on high for 5 to 7 minutes until the skins are blackened and blistered.
Step 2: Transfer the charred peppers to a small bowl and cover tightly with plastic wrap for 5 minutes; this allows the steam to loosen the skins for easy removal.
Step 3: Peel away the charred skins, pat the peppers completely dry with a paper towel, and slice them into thin strips or a rough dice.
Step 4: In a medium-sized mixing bowl, combine the softened cream cheese, garlic powder, lime juice, and smoked paprika, stirring until the mixture is completely smooth and aerated.
Step 5: Lay out the sourdough slices and spread a generous, even layer of the cream cheese mixture onto one side of each slice.
Step 6: Distribute the shredded cheddar and Monterey Jack cheeses evenly across two of the bread slices, followed by a layer of the roasted jalapeño strips and the crispy beef bacon crumbles.
Step 7: Place the remaining two slices of bread on top, cream cheese side down, to create a “glue” that holds the fillings in place during the flip.
Step 8: Spread a thin, edge-to-edge layer of mayonnaise on the outward-facing sides of the sandwich.
Step 9: Heat a heavy-bottomed, cast-iron skillet over medium-low heat and place the sandwiches in the pan, cooking for 3 to 4 minutes per side until the crust is a deep golden brown and the interior cheese is fully emulsified.
Step 10: Remove from the heat and let the sandwiches rest for 60 seconds before slicing diagonally to allow the cheese to set slightly.
Pro-Tips for the Crispiest Golden Crust
The most significant upgrade you can make to your grilled cheese technique is the “Mayo Method.” Unlike butter, which contains water and milk solids that can burn quickly, mayonnaise is an emulsion of oil and egg. This creates a higher smoke point and a more uniform, golden-brown crust. It also adds a very subtle, pleasant tang that complements the sourdough.
To avoid the common pitfall of a cold center and burnt exterior, always cook over medium-low heat. This low-and-slow approach allows the thermal energy to penetrate the thick sourdough and melt the inner cheeses completely by the time the exterior reaches peak crispness.
Storage and Reheating Instructions
While this sandwich is best enjoyed immediately, you can store leftovers in an airtight container in the refrigerator for up to 2 days. To revive the crispness, avoid the microwave at all costs. Instead, reheat the sandwich in a dry skillet over low heat for 3 minutes per side, or place it in an air fryer at 350°F (175°C) for 4 minutes. This ensures the bread regains its crunch without making the cheese oily.
FAQ
Can I make these in an air fryer?
Yes, you can certainly prepare this recipe in an air fryer. Assemble the sandwich as directed and air fry at 370°F (185°C) for approximately 4 minutes per side. Be sure to secure the top slice of bread with a toothpick so the fan does not blow it off.
How do I make the sandwich spicy but not overwhelming?
The heat lives primarily in the seeds and the white internal ribs of the pepper. For a mild flavor, meticulously remove all seeds and ribs before roasting. If you desire maximum heat, leave a few seeds in the mixture.
What is the best way to roast jalapeños without a grill?
The oven broiler is the most efficient indoor method. However, if you have a gas stove, you can use metal tongs to hold the peppers directly over the open flame until the skin blisters, rotating frequently for an even char.
Can I use canned jalapeños instead of roasted?
You can use pickled, canned jalapeños in a pinch, but the flavor profile will shift from smoky and sweet to acidic and salty. If using canned peppers, ensure you drain them thoroughly and pat them dry to prevent a soggy sandwich.
How do I keep the grilled cheese warm for a crowd?
If you are making several sandwiches at once, place the finished ones on a wire cooling rack set over a baking sheet. Keep them in an oven preheated to 200°F (95°C). The wire rack allows air to circulate, preventing the bottom of the bread from becoming soft.